Figma has revolutionized the design industry by offering a collaborative, cloud-based platform for UI/UX designers. Now, with the introduction of Figma AI, the design process is more efficient and intuitive than ever. Whether you’re a beginner or an experienced designer, learning how to leverage AI-powered tools in Figma can significantly speed up workflows, improve accuracy, and enhance creativity.
In this guide, we’ll walk you through the best ways to use Figma AI, from automating tasks to generating design elements effortlessly.
What is Figma AI?

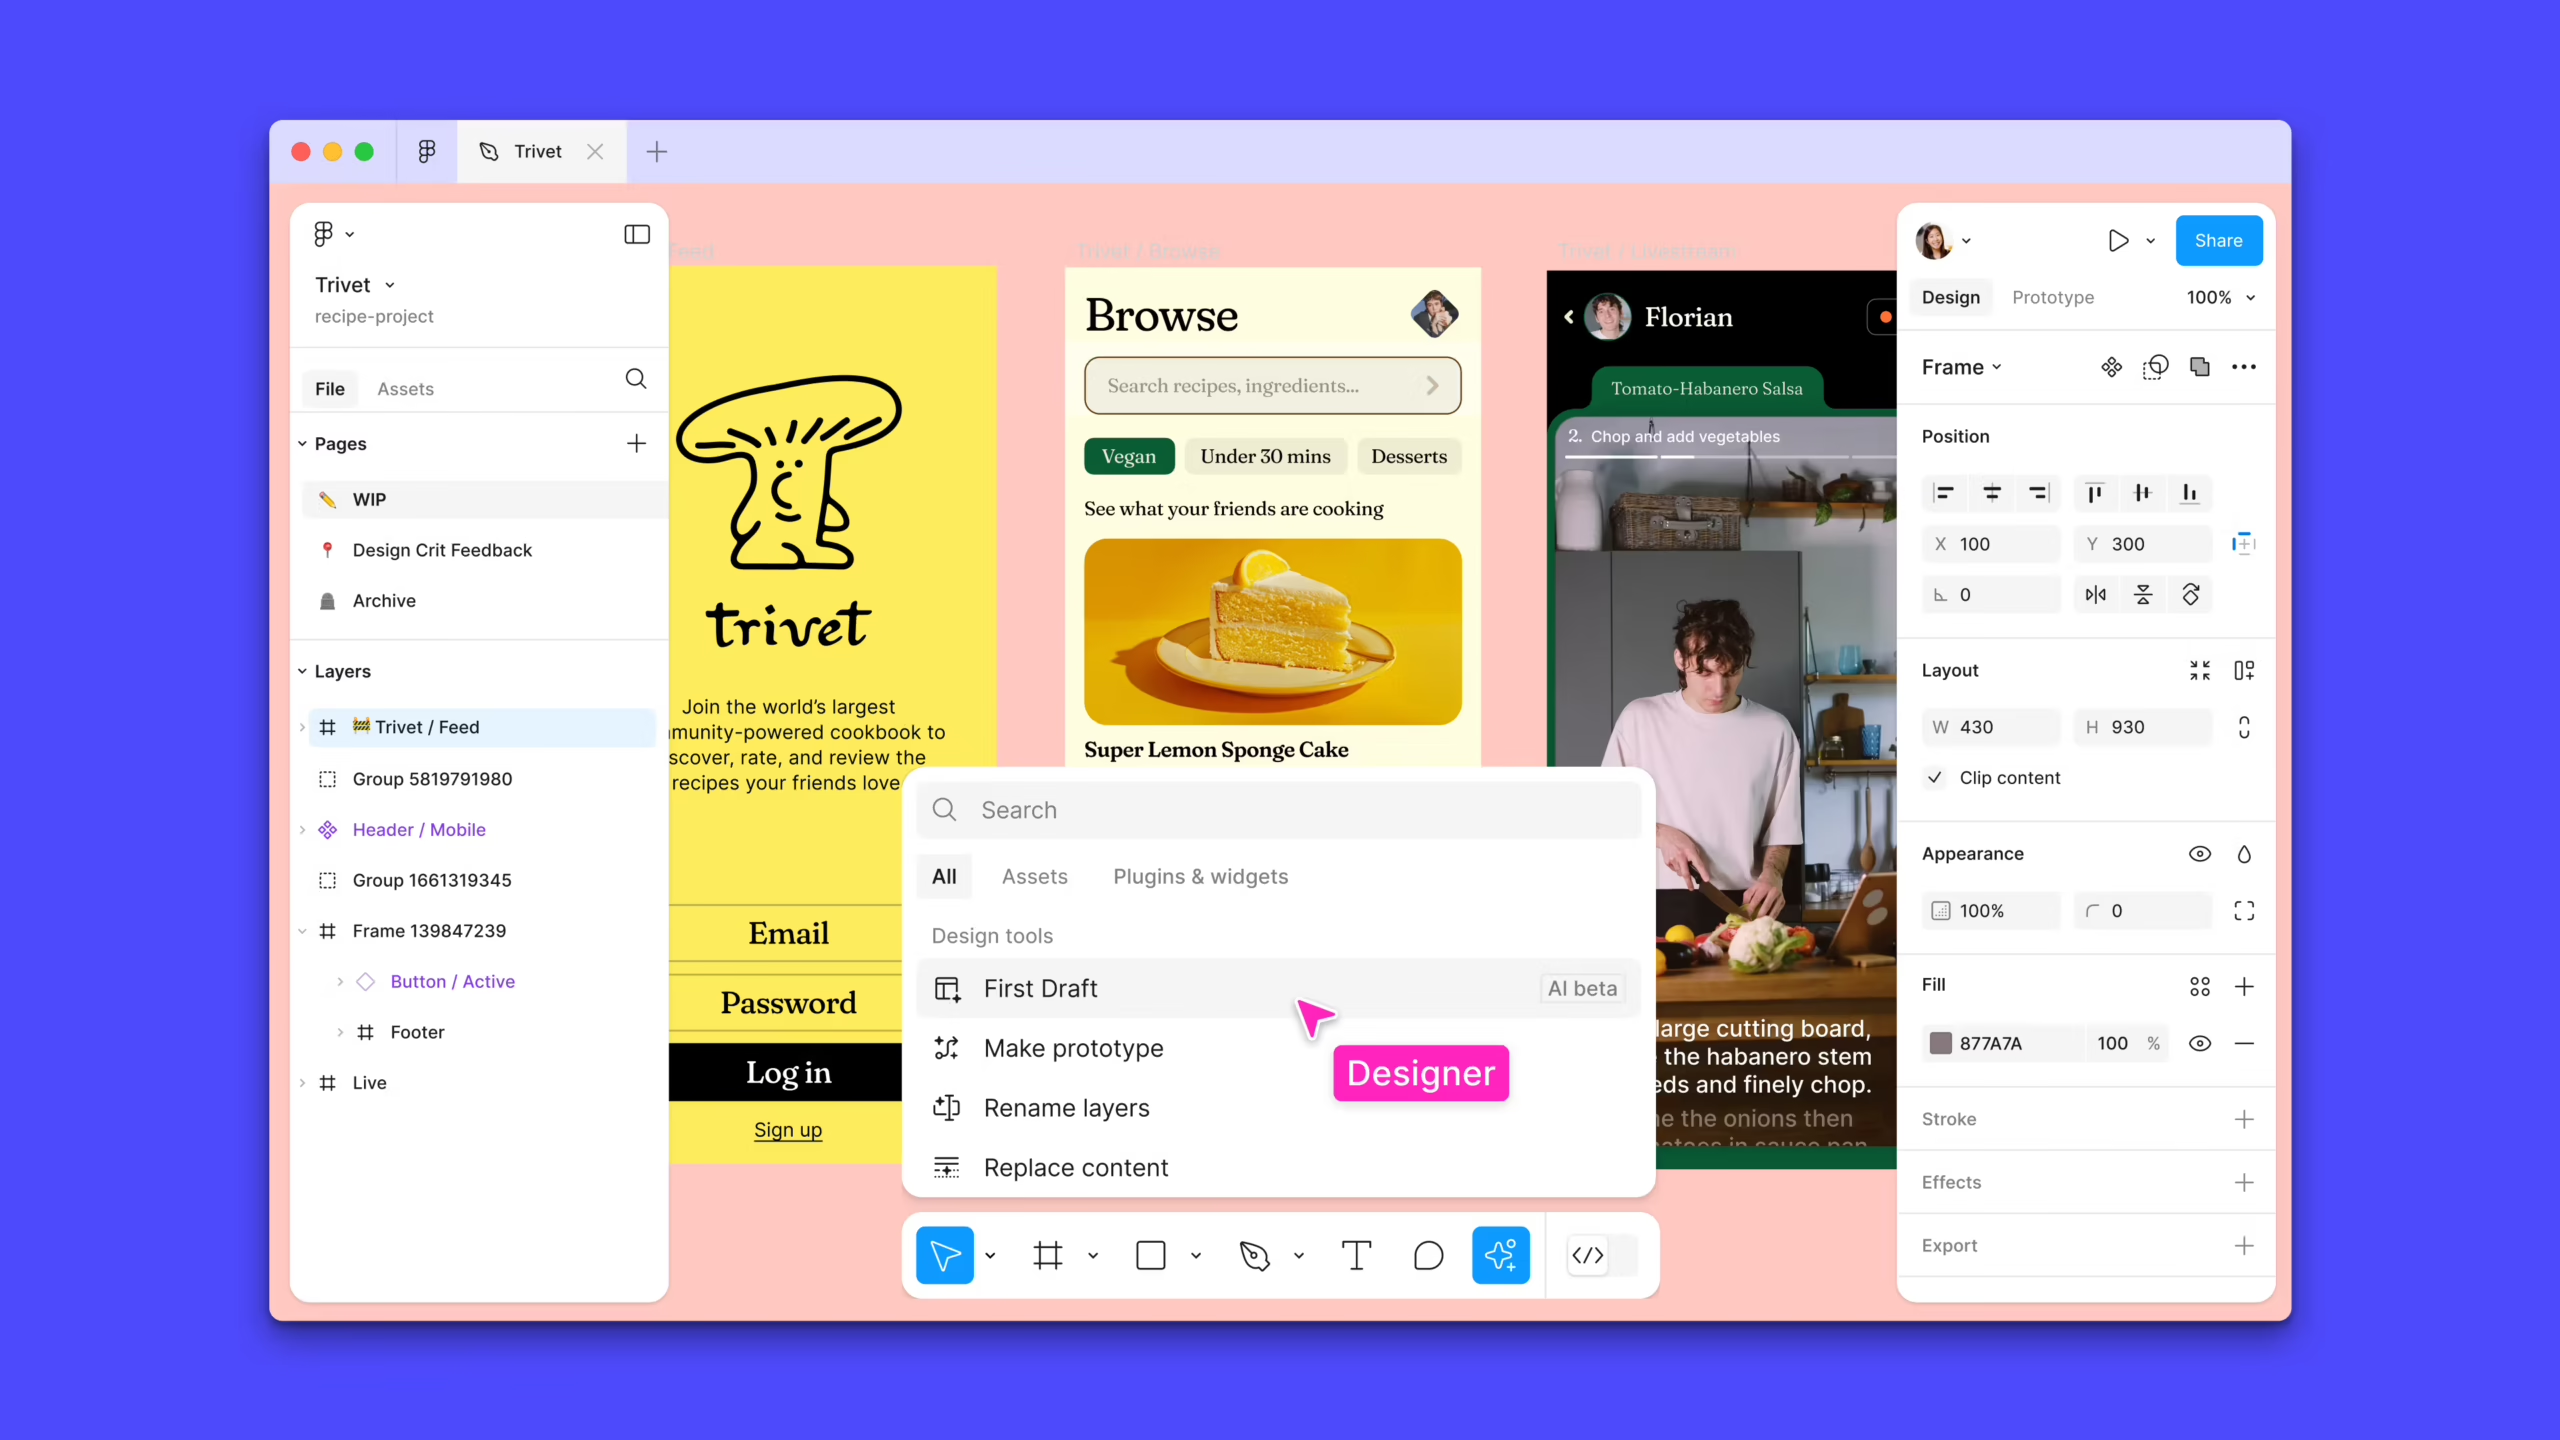
Figma AI is an artificial intelligence-powered assistant integrated into Figma to help designers automate repetitive tasks, generate layouts, enhance images, and suggest design improvements. This feature streamlines the design process and makes it easier for beginners to create professional-looking designs with minimal effort.
Key Features of Figma AI
- Automated Design Suggestions – AI-powered recommendations to enhance UI/UX layouts.
- Auto-Layout Optimization – Adjusts spacing, alignment, and layout structures automatically.
- Text & Image Generation – AI-generated placeholder text and royalty-free images.
- Code Generation – Converts Figma designs into HTML, CSS, and React code for developers.
- Auto-Completion for Designs – Predictive design suggestions based on patterns and trends.
Why Use Figma AI?
1. Saves Time and Effort
Instead of manually adjusting elements, Figma AI automatically optimizes layouts and suggests improvements, reducing design time.
2. Helps Beginners Learn Faster
If you’re new to Figma, AI-powered tooltips and suggestions guide you through the process, making it easier to design professional-looking interfaces.
3. Improves Collaboration
Figma AI enhances real-time collaboration by offering instant feedback and smart recommendations for multiple users working on a project.
4. AI-Powered Code Generation
Developers can export auto-generated HTML, CSS, and JavaScript from Figma AI, reducing manual coding time.
How to Use Figma AI: Step-by-Step Guide
Step 1: Enable Figma AI
To access Figma AI, make sure your Figma software is updated to the latest version.
- Open Figma and go to Settings
- Look for the AI Features section
- Toggle Enable Figma AI
Step 2: Use AI-Powered Auto Layout
- Select a frame or component
- Click on Auto Layout (Shift + A)
- Figma AI will adjust spacing, padding, and alignment automatically
Pro Tip: Use Auto Layout for responsive designs, ensuring elements adjust dynamically across devices.
Step 3: Generate Text & Images with AI
- Click on a text box and select “Generate Text with AI”
- Type a brief prompt (e.g., “Write a login page description”)
- AI will generate relevant text based on your input
For images:
- Right-click on an image placeholder
- Select “Generate AI Image”
- Choose a style (realistic, abstract, etc.)
Step 4: Convert Designs to Code
- Select a UI component
- Click on “Generate Code” in the properties panel
- Copy the auto-generated HTML, CSS, or React code
- Use this code in your Figma to HTML conversion projects
Step 5: Use AI-Powered Design Suggestions
- Click on an element and select “Suggest Design Improvements”
- AI will provide alternative color schemes, spacing, or font choices
- Apply changes with one click
Best Practices for Using Figma AI Effectively
✅ Combine AI with Manual Adjustments
AI is powerful but not always perfect. Fine-tune designs manually after using AI-generated suggestions.
✅ Leverage AI for Repetitive Tasks
Use Figma AI for auto-generating buttons, text, and placeholders to speed up UI design.
✅ Export AI-Generated Code for Developers
If you’re a developer, export HTML, CSS, or React code directly from Figma AI to streamline the handoff process.
✅ Use AI for Rapid Prototyping
AI-powered auto-layouts and smart suggestions help create quick, responsive prototypes without spending hours on adjustments.
Figma AI vs. Traditional Design Methods
| Feature | Figma AI | Traditional Figma Design |
|---|---|---|
| Layout Adjustments | AI Auto-Layout | Manual spacing & positioning |
| Text & Image Generation | AI-generated content | Requires manual input |
| Code Export | AI-generated HTML, CSS, React | Manual coding required |
| Learning Curve | Easier for beginners | Steeper learning curve |
XHTMLTEAM’s Figma to HTML Service
While Figma AI can generate HTML and CSS, it may not always meet high coding standards for complex projects. That’s where XHTMLTEAM comes in!
Why Choose XHTMLTEAM for Figma to HTML Conversion?
- Pixel-perfect HTML, CSS, and JavaScript conversion
- Manually coded, SEO-friendly markup
- Faster website loading speed
- Compatible with WordPress, Shopify, and other platforms
- Unlimited web development with a subscription-based service
🔗 Learn more here: https://www.xhtmlteam.com/web-development-subscription.html
Figma AI is an excellent tool for automating design processes, generating layouts, and speeding up development. Beginners can benefit from auto-layout, text suggestions, image generation, and AI-powered code exports. However, for high-quality Figma to HTML conversion, expert developers like XHTMLTEAM ensure clean, structured, and responsive code that meets industry standards.
Start using Figma AI today and experience faster, smarter, and more efficient UI/UX design!

