
In today’s fast-evolving tech world, No Code/Low Code platforms like Bubble.io are transforming how web applications are built. Pairing it with design tools like Figma makes it possible for designers and developers to create fully functional applications without writing a single line of code. In this guide, we will walk you through the process of converting Figma designs into Bubble.io applications.
Why Convert Figma to Bubble.io?
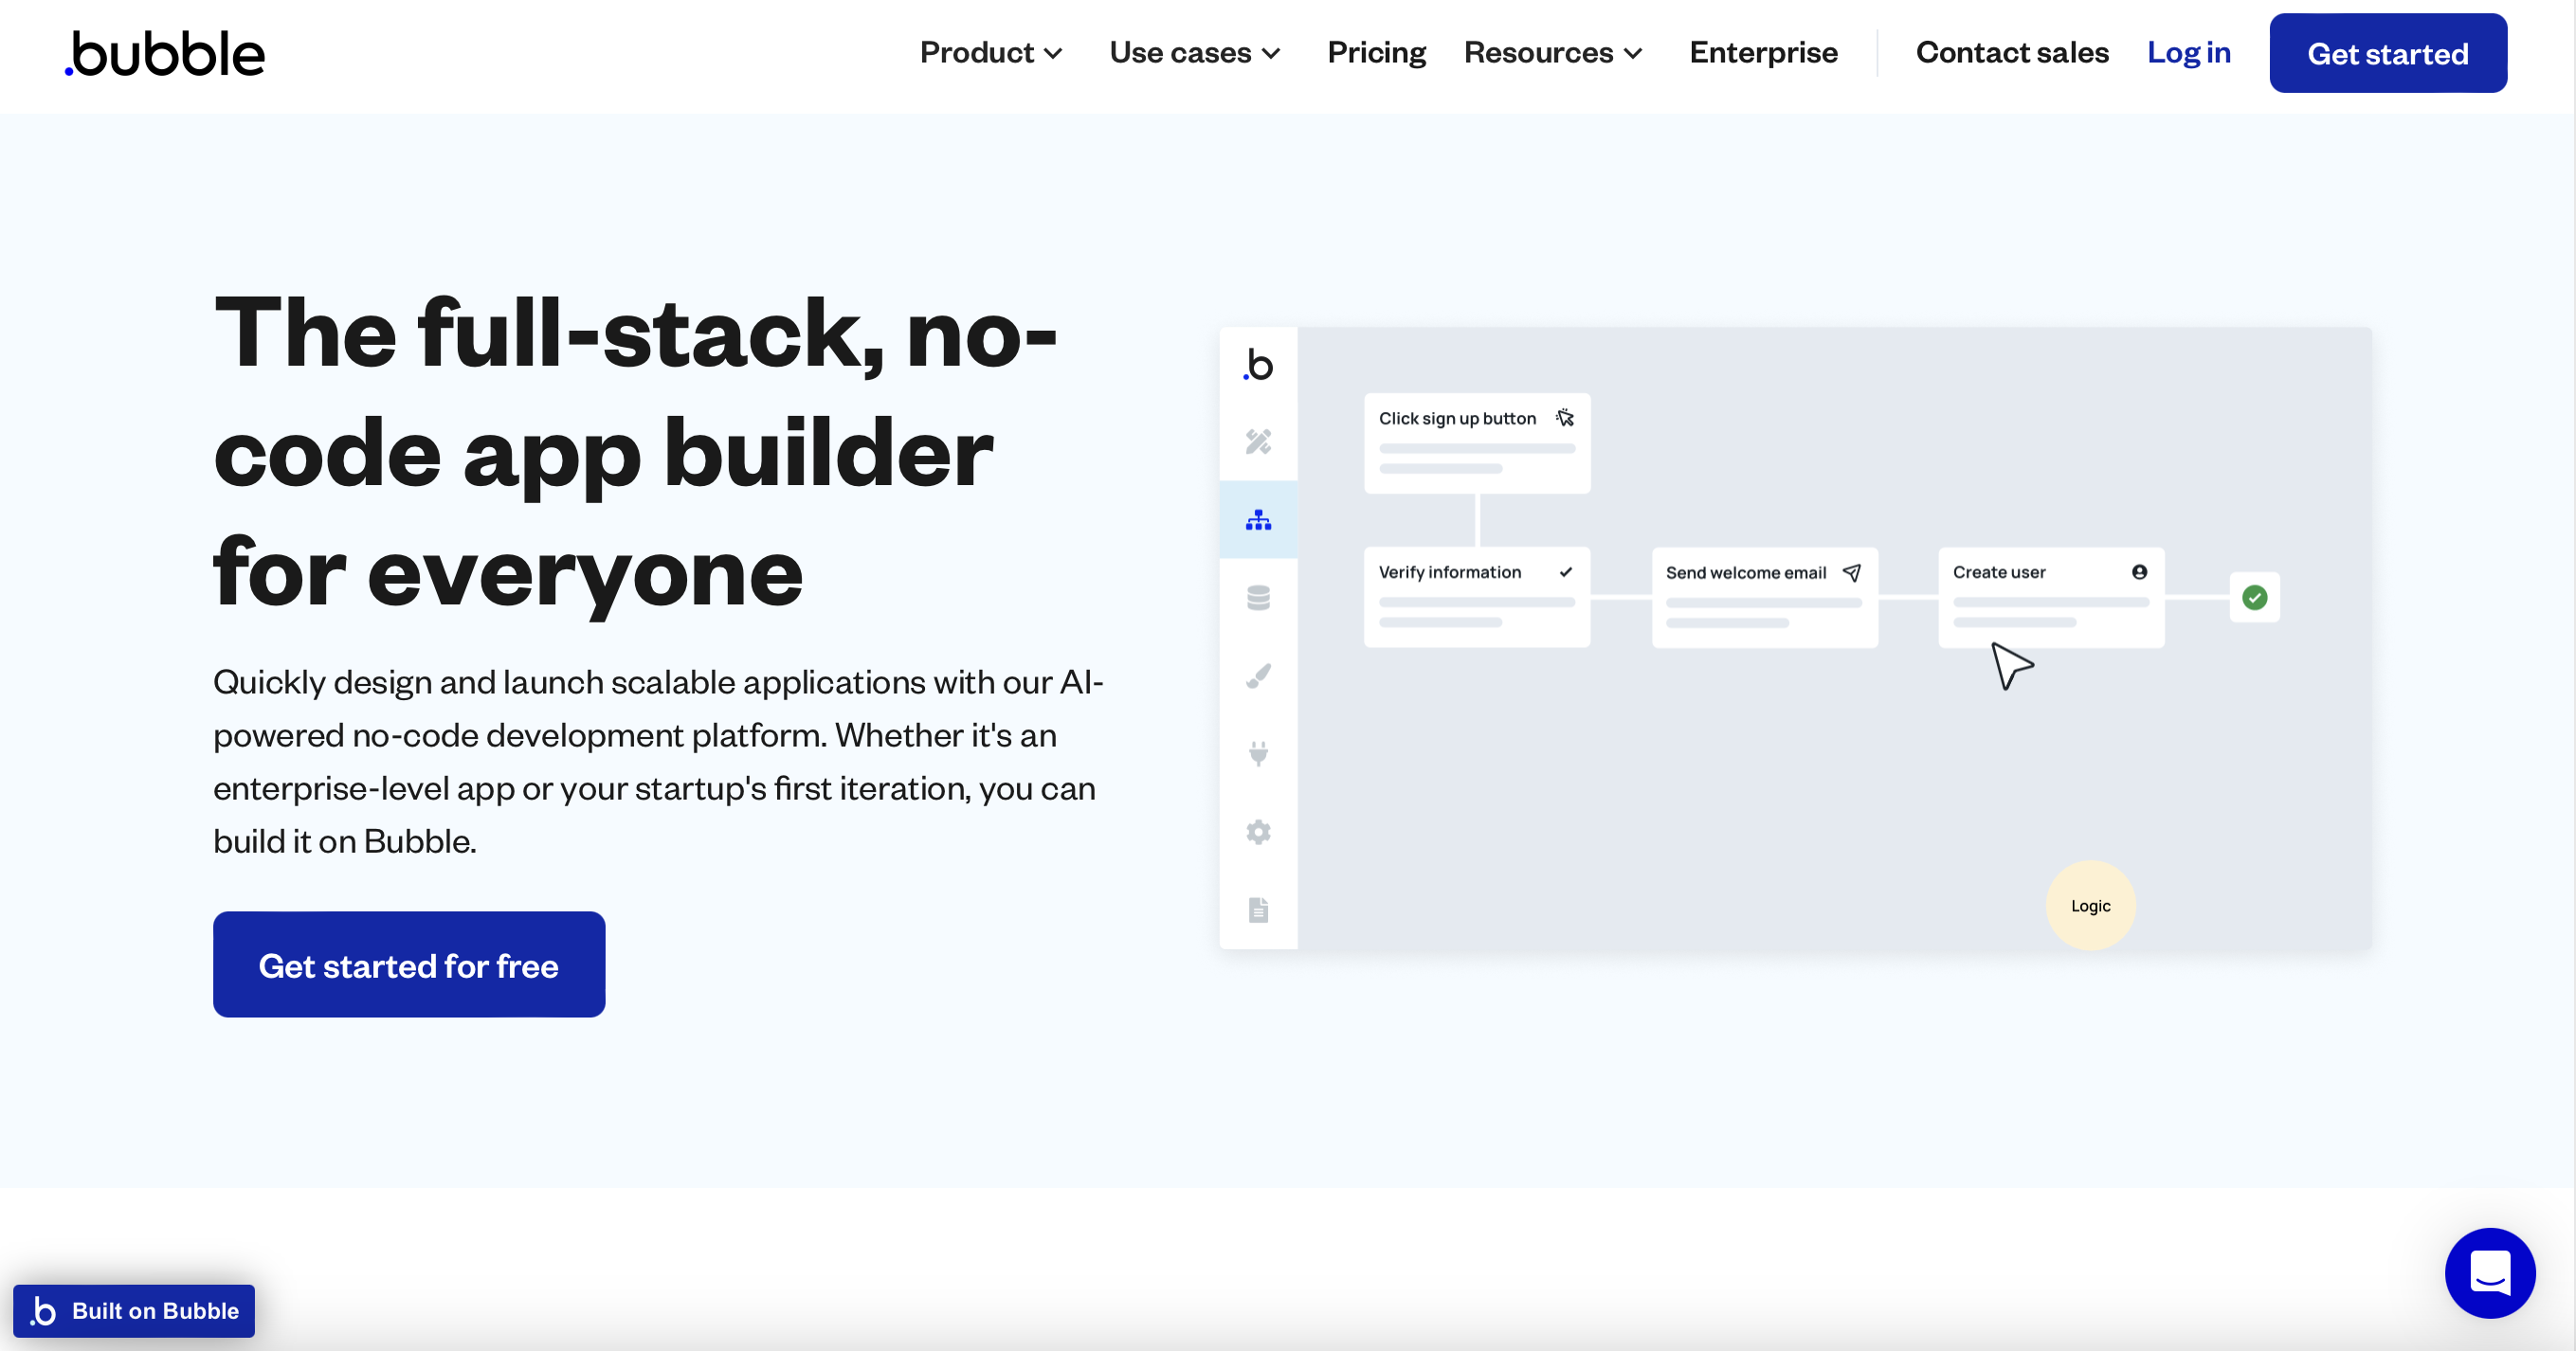
Figma is one of the most popular design tools, offering a collaborative environment where teams can create user interfaces with precision. On the other hand, Bubble.io is a No Code platform allowing users to build powerful web applications without needing a traditional development stack. The combination of Figma’s robust design capabilities and Bubble.io’s ease of functionality makes the transition from design to development seamless.
With Bubble.io, designers can:
- Turn prototypes into real, responsive web apps.
- Avoid the technical complexity of coding.
- Focus on design while quickly testing ideas in real-time.
Step-by-Step Guide: How to Convert Figma to Bubble.io
Step 1: Export Designs from Figma
Before starting the conversion, the first step is to export your Figma designs in the appropriate format.
- Inspect and prepare your design – Make sure all layers, components, and groups in Figma are properly named and organized for ease of export.
- Export assets – Select the images, icons, and other design elements that you want to export.
- Choose the right format – You can export assets in PNG, SVG, or JPG depending on your needs. For web applications, SVG is preferred for scalable icons, while PNG is often used for non-scalable images.
Step 2: Set Up Your Bubble.io App
Now that you have your design assets ready, it’s time to move into Bubble.io and set up your application.
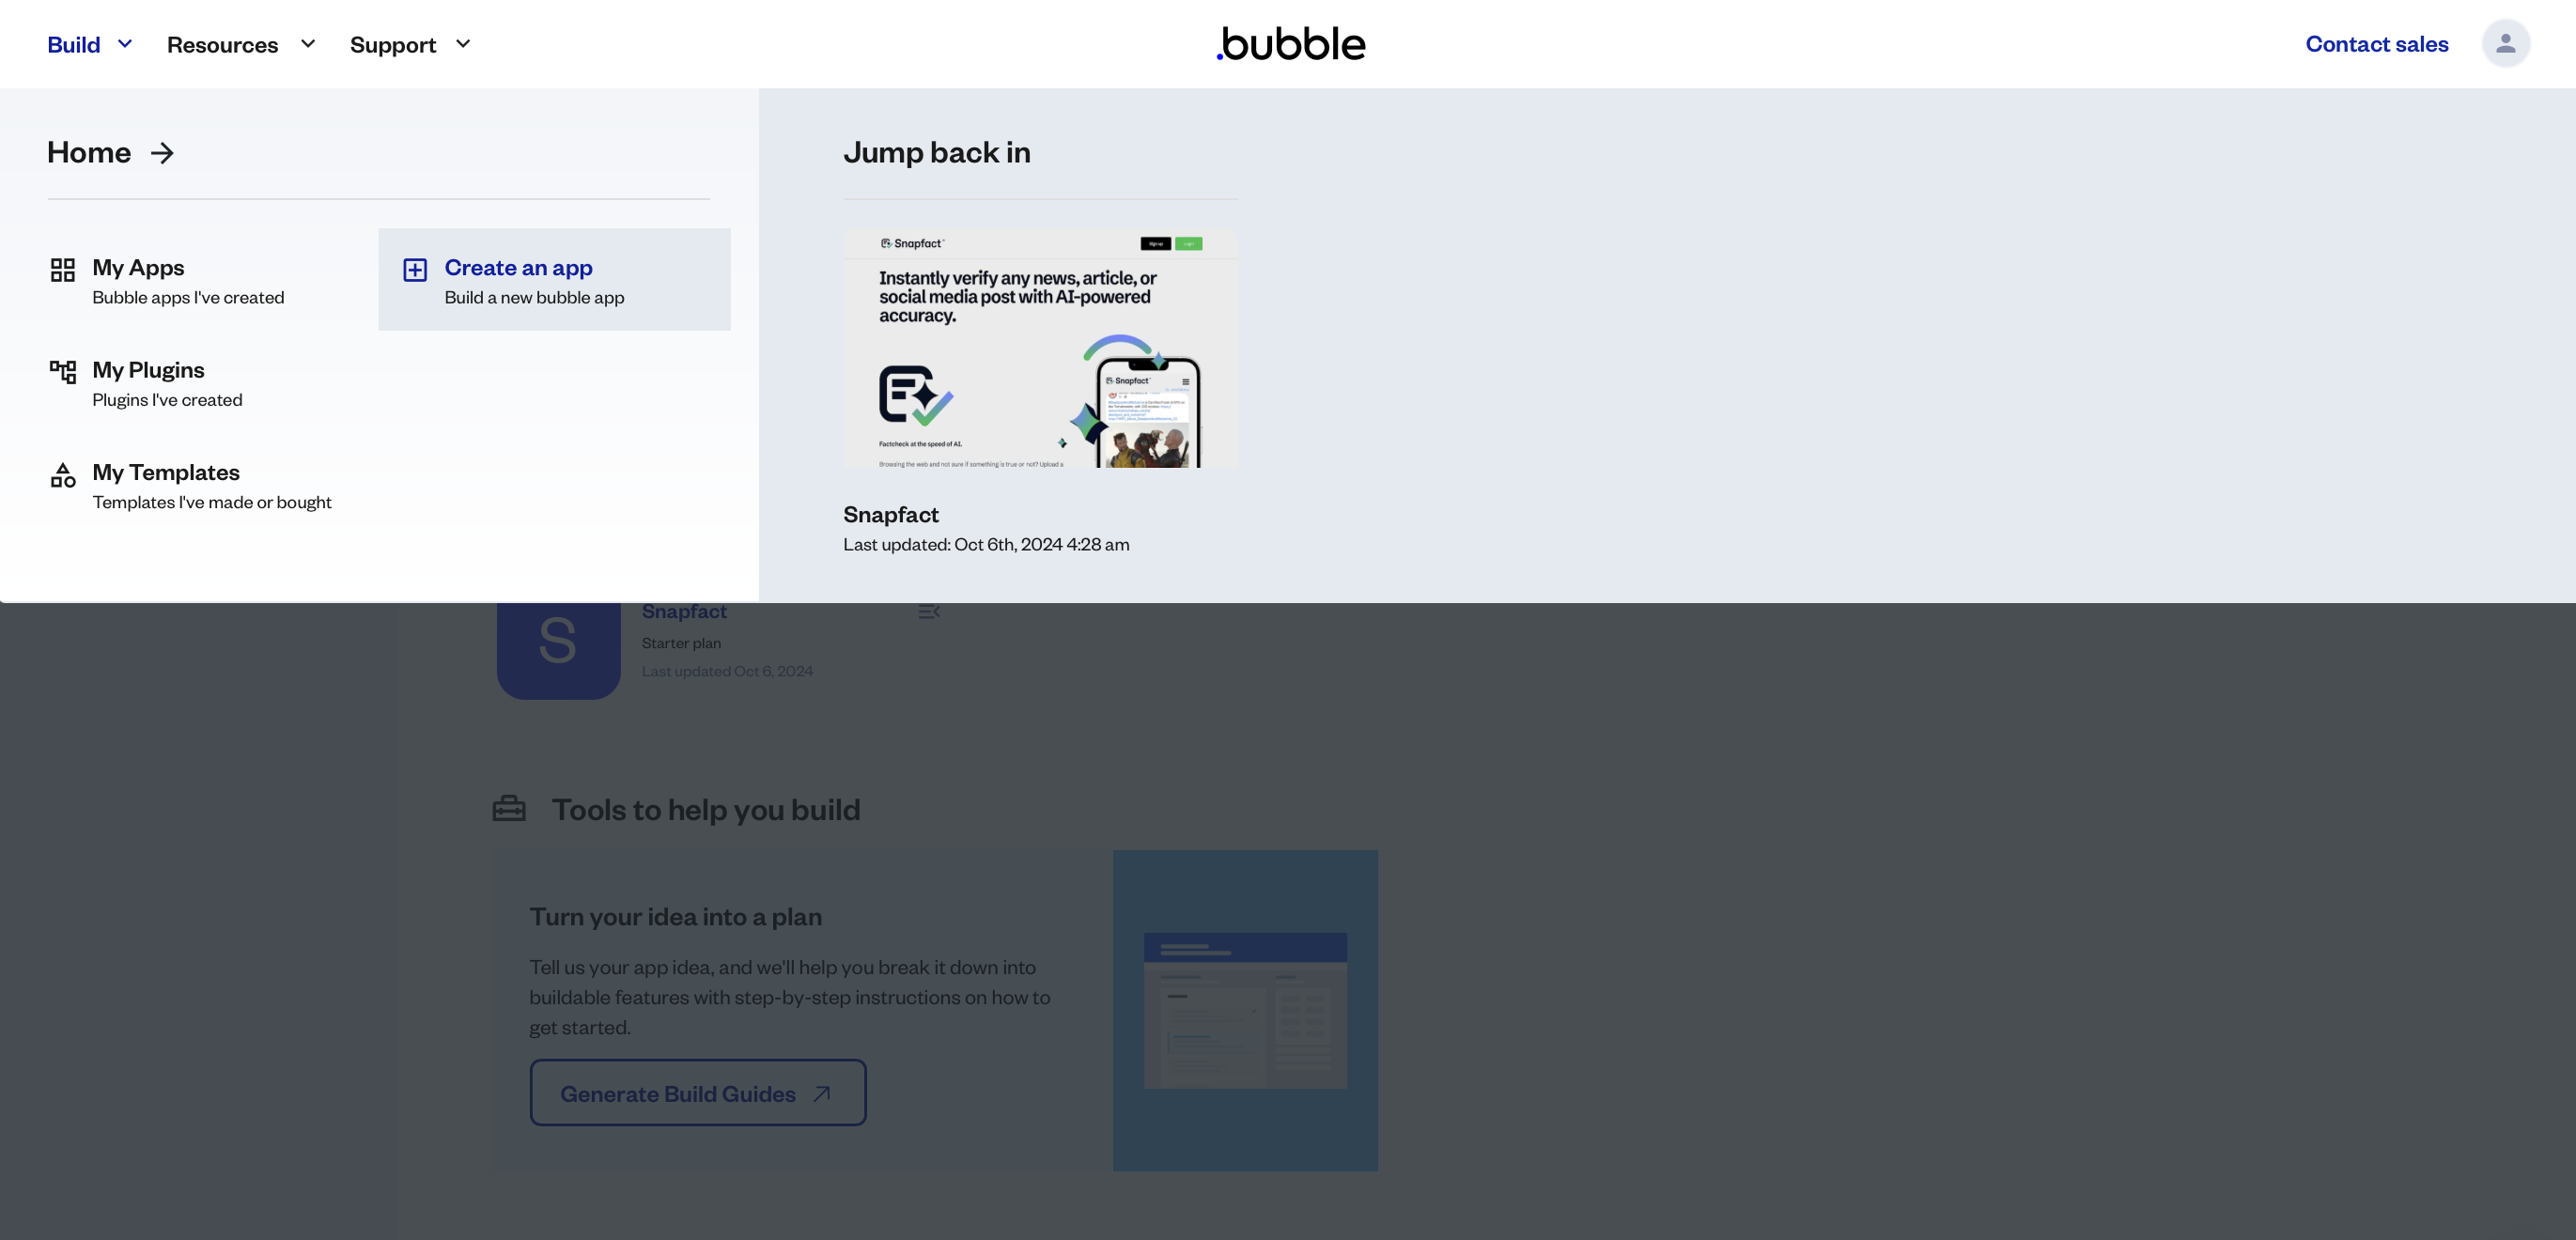
- Create a new project in Bubble.io.
- Choose a blank canvas if you’re starting from scratch, or select a template if you want a base to build on.
- Upload assets like images, icons, and illustrations exported from Figma.
Step 3: Start Structuring the Layout in Bubble.io
Once the assets are in place, you’ll start recreating the layout from Figma.
- Add containers and groups – Use Bubble.io’s drag-and-drop editor to set up your page structure. Add containers, sections, and groups similar to the ones designed in Figma.
- Create responsive layouts – Ensure that your layout will be responsive across all devices by adjusting settings in Bubble.io’s responsive editor.
- Use Bubble.io’s elements – Add text, buttons, inputs, and other elements to match your Figma design.
Step 4: Customizing Styles
Now, it’s time to style your Bubble.io elements to match the design system of your Figma file.
- Add custom fonts and colors – You can replicate the fonts used in Figma by adding Google Fonts or uploading custom font files.
- Match padding and margins – Ensure that the spacing between elements aligns with your Figma designs. Bubble.io allows you to adjust margins and padding, so make sure everything looks pixel-perfect.
- Custom CSS – For more advanced styling that isn’t directly available in Bubble.io, you can inject custom CSS into your application.
Step 5: Adding Interactivity
Once the design is built, add interactivity to make the application functional.
- Workflows – In Bubble.io, workflows are how you define actions that happen when users interact with the application (e.g., clicking a button).
- Conditionals – Set conditions on elements to change their state or visibility based on user actions.
- API integration – Connect your app with external services using Bubble.io’s API connector.
Step 6: Testing and Launching
Finally, after building your application, you’ll need to test it to ensure everything is working correctly.
- Preview your app – Bubble.io offers a preview mode that allows you to see your app in action before going live.
- Responsive testing – Test the application on different devices to ensure the design is responsive.
- Launch – Once everything is ready, you can deploy the app to production using Bubble.io’s built-in deployment features.
Popular No Code Tools in 2024
Besides Bubble.io, here are some other Popular No Code Low Code Tools you can use in 2024:
- Webflow – A popular platform for creating professional websites without coding.
- Wix – Known for its simplicity and ease of use, especially for beginners.
- Adalo – Ideal for building mobile applications without the need for traditional programming.
- Airtable – A flexible No Code platform for building database-driven applications.
- Zapier – Automates workflows by connecting apps and services without requiring code.
Why Choose XHTMLTEAM for Figma to Bubble.io Conversion?
At XHTMLTEAM, we specialize in turning your Figma designs into fully functional Bubble.io applications. With our extensive experience in No Code and Low Code platforms, we ensure a seamless transition from design to development. We focus on delivering high-quality, responsive, and user-friendly web applications.
Whether you’re a startup or an established business, our team has the expertise to handle projects of any size. Trust XHTMLTEAM to convert your Figma designs to Bubble.io perfectly.
For more information, visit XHTMLTEAM.com.